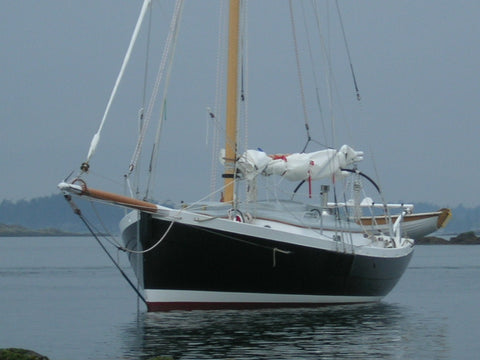
24 ft Cutter Design “Ila” #98

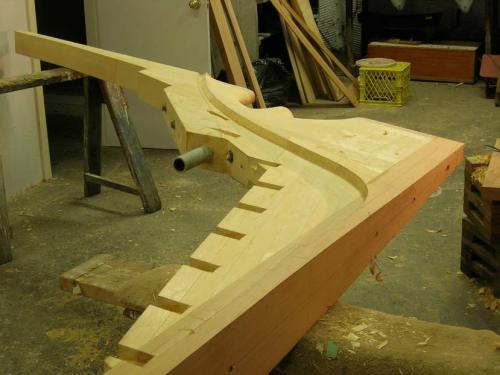
1. The sternpost assembly is laminated yellow cedar; the glass-epoxy stern tube has been bonded in place.

2. Setting up: The backbone is being lowered into place onto the temporary building molds set up on the deck shelf.

3. Bending oak frames outside temporary ribbands. Heels of all frames are fitted into boxes chopped into keel, stem, and sternpost.

4. The steam bending is complete. Here, the frames are being fitted and permanently fastened at centerline and deck shelf.

5. The outboard face of the frames is carefully faired in preparation for planking.

6. The triple-skin transom has been fitted and beveled; planking is underway.

7. The planking is double-skin. The inner layer is three-eighths-inch western red cedar; the outer layer, three-quarter-inch yellow cedar.

8. Planking well underway. Planks are first dry-fitted, then removed and glued into place with thickened West epoxy resin. Fastenings into frames are silicon-bronze screws.

9. Planking has been completed, sheer strakes added, and the whole hull faired and sanded.

10. Turning the hull in slings.

11. The laminated floor timbers are ready for fitting.

12. Fitting three-inch floor timbers: White chalk is rubbed on planking, the floor timbers are lowered into place, then removed; chalk marks are removed with spokeshave until a solid fit is achieved.

13. The four-thousand-pound lead ballast casting is rolled under the boat and jacked into place.

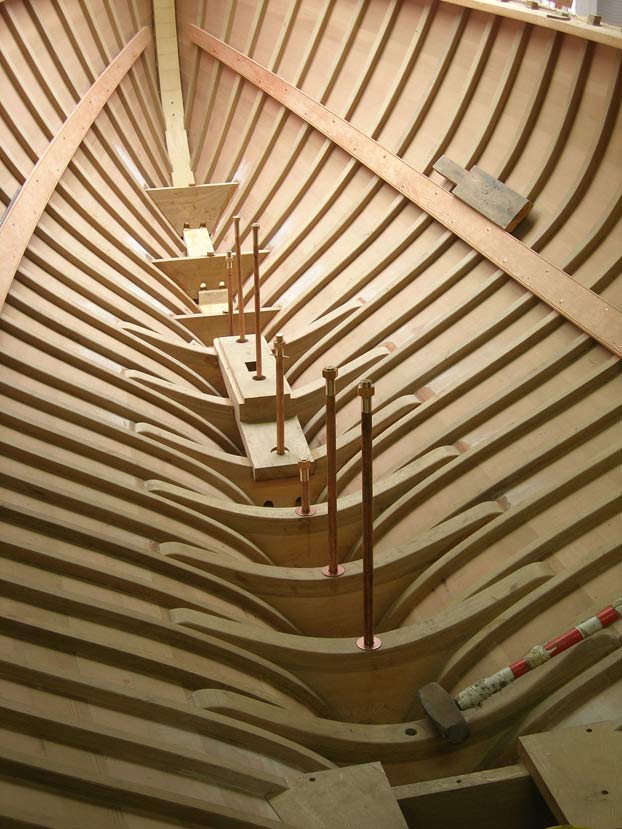
14. The keel bolts are silicon bronze, one-inch and three-quarter-inch diameter.

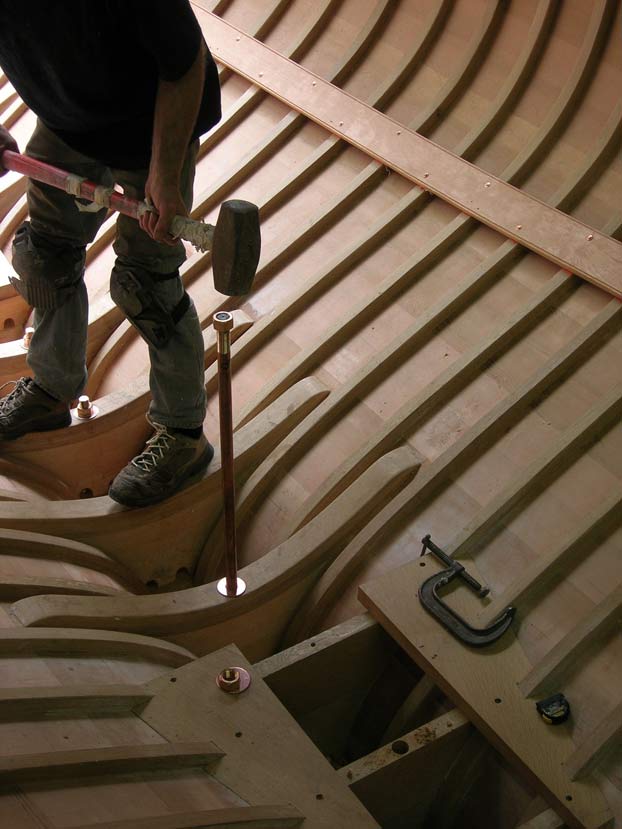
15. The ballast keel is bedded, and the bolts are driven home. Engine beds have been installed.

16. The deck frame: Beams are hung under the deck shelf, glued and fastened; carlins, mast blocking, and hanging knees have been fitted.

17. The first layer of decking is yellow cedar, edge-glued. The port panel has been tuned over for planing and sanding, before being glued permanently into place. (Top layer will be red cedar, laid diagonally and glued.)

18. The fore-cabin doorframe and bulkhead paneling are going in. The cabin sole is edge-grain fir.

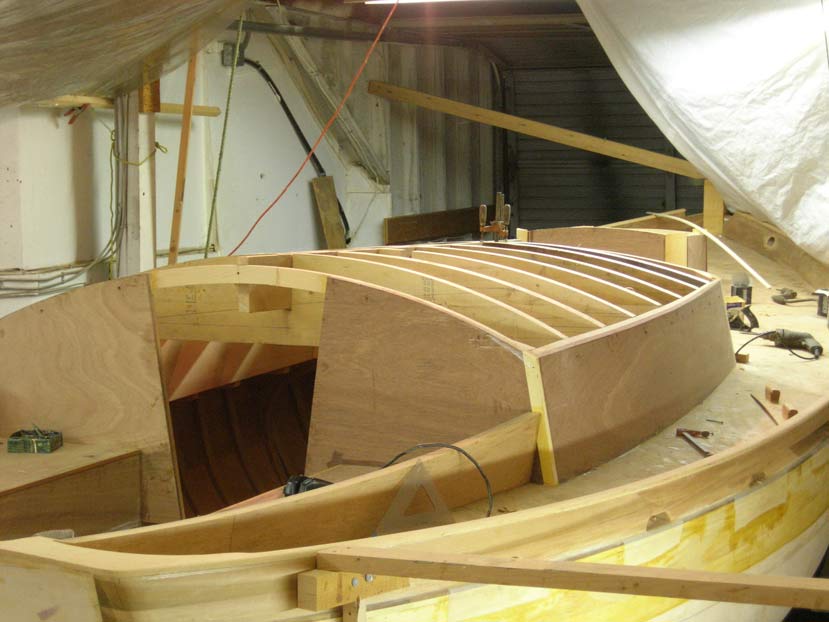
19. Sawn red-cedar bulwarks are fitted. The cockpit is installed, and cabin sides of laminated plywood and western red cedar are in place.  A temporary jig for the laminated cabin roof is being fitted and faired.

20. A wooden pattern for the bronze mainsheet traveler is shaping up; the cabin top is being cold molded, red cedar over yellow (the final thickness will be an inch and three-eighths).

21. Cockpit lockers complete and the propane system being installed.

22. Interior joinery, bunks, and settees going in. Note the molded cabin top is left off until the interior is complete.

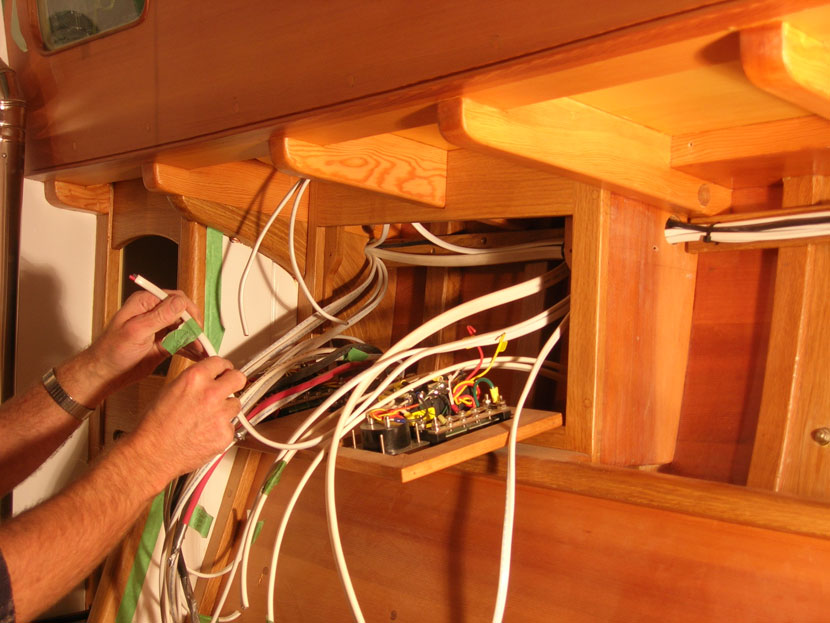
23. The electrical panels are fitted in a hinged locker front. Here, the wiring is being pulled and labeled before the hook-up.

24. All above-deck ironwork, mast bands, stanchions, pin rails, etc are fabricated in mild steel and will be hot-dipped galvanised. Here, the the lower mast band is being fitted to the hollow spruce mast.

25. The bowsprit nose fitting and the boom and gaff gooseneck fittings-- welded, shaped, and bored for fastenings before galvanising.

26. The ironwork for a traditional sailboat amounts to quite a pile.


Notes on construction techniques: